Magnetic Levitation
Levitation from LNS Technologies
- Introduction
- LNS Schematic
- Design
- Construction
- Conclusions
Construction of LNS Tech Kit
What comes in the box? How difficult is assembly?
Construction
I spent 2 hours building the kit, working carefully and double-checking every step. The instructions were clear and easy to follow. All parts fit precisely together, and no rework or adjustments were needed.
In the spirit of wildly over-documenting a simple process, here are photographs of kit assembly. Please keep in mind this is a single sample of the kit, and LNS Technologies has the right to make minor changes at any time.
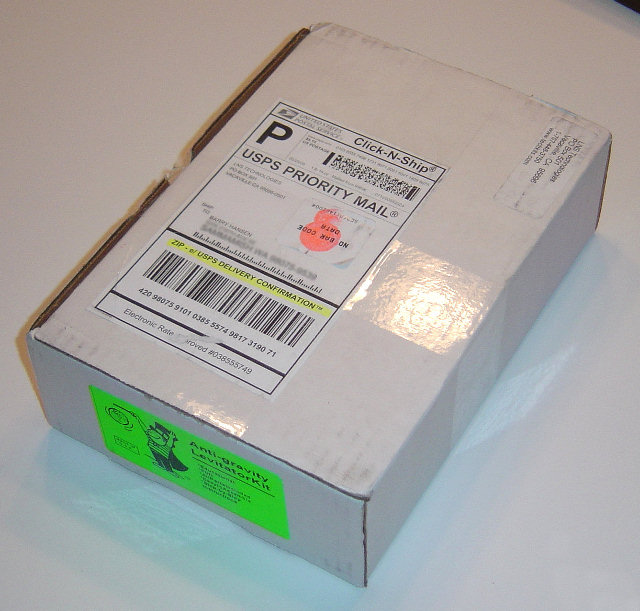 |
How the box arrives. Come on, you've seen boxes arrive in the mail before! |
 |
After removing the packing foam, we lift the lid to find... there were no snakes on the plane. |
 |
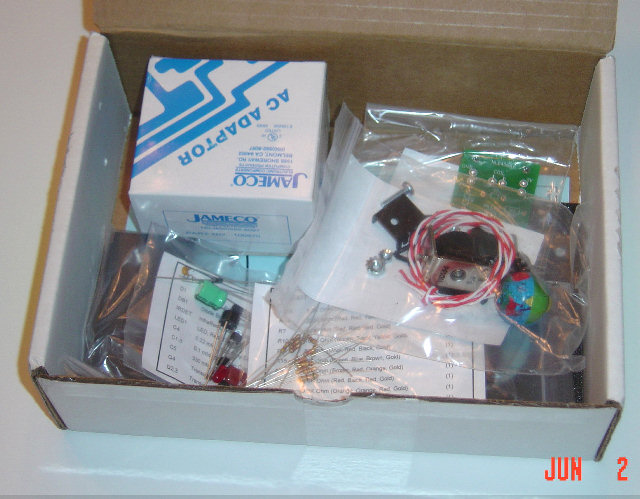
Exploded (boom!) view of box interior. Everything is neatly packed with individual zip-lock bags, each with a parts list for identification. This made it particularly easy to check the packing list and locate any particular particle. |
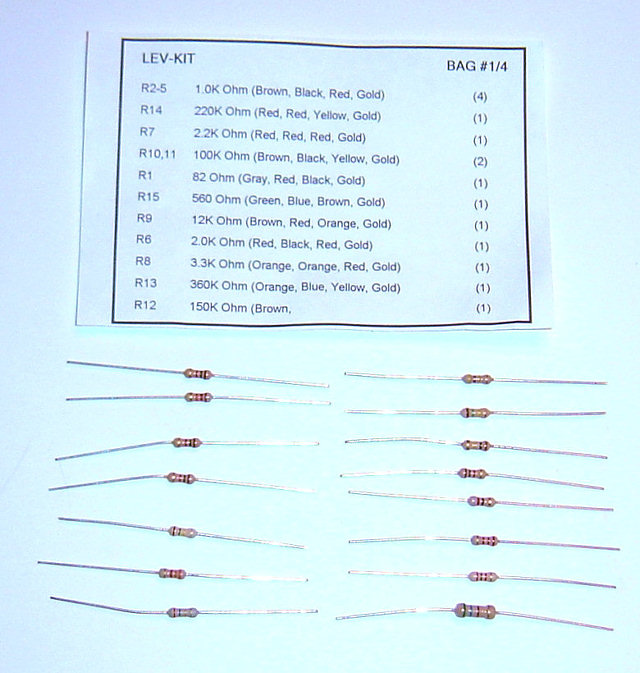 |
Bag 1 has fourteen resistors. |
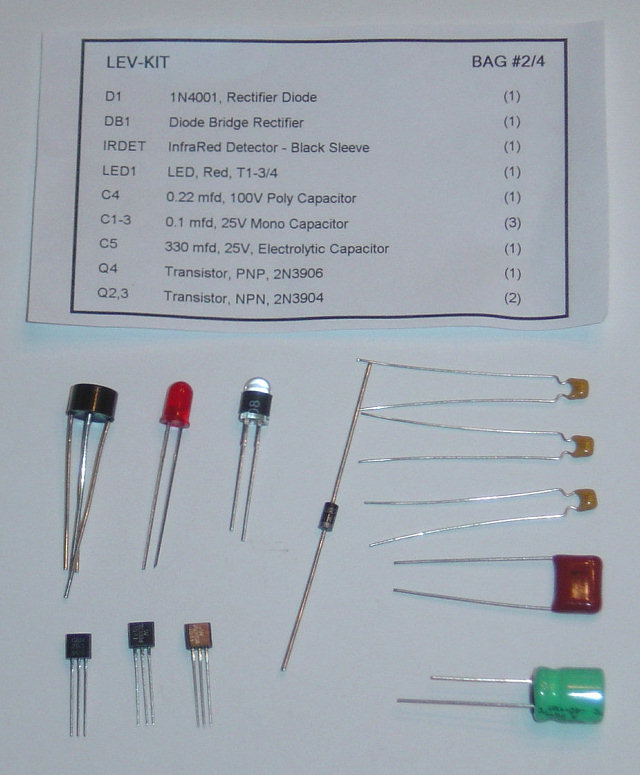 |
Bag 2 has capacitors, transistors, diodes and optoelectronics. |
 |
Bag 3 has two printed circuit boards, power transistors and the op-amp chip. |
 |
Bag 4 has the potentiometer, lifting coil, globe and assembly hardware. |
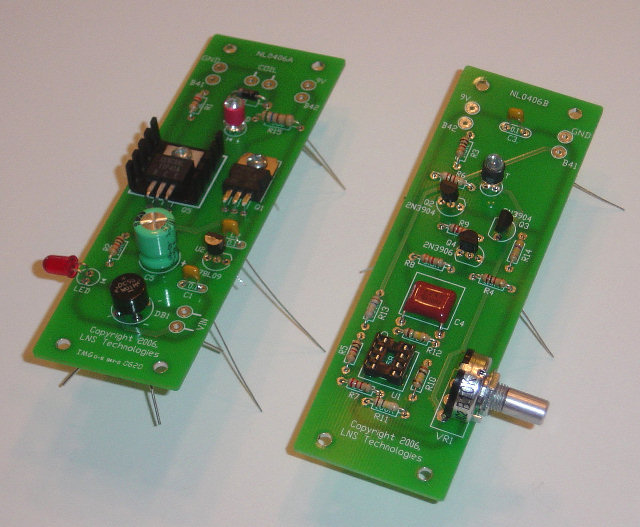 |
Parts are loaded, and ready for soldering. I double-checked that each part matched its printed board label. And I triple-checked resistors with an ohmmeter. |
 |
Although you are instructed to solder each component as it is loaded, I inserted all of them before beginning to solder. This permits an easy adjustment if parts are missing or left over. And it allows the soldering iron to stay cleaner with constant use, instead of turning black during a long pause between solder joints. |
 |
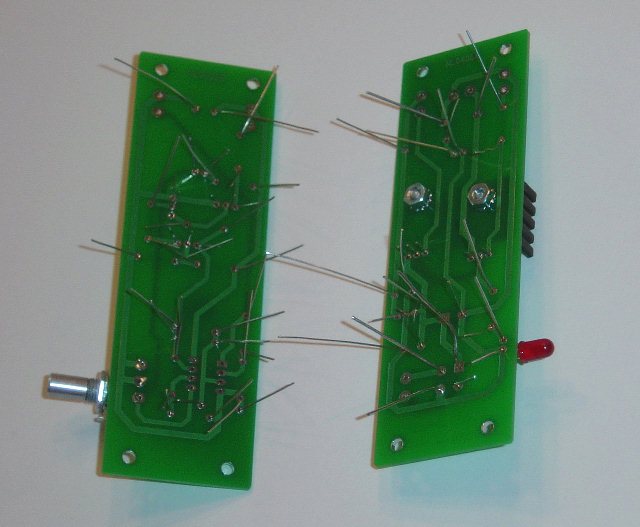
Almost complete, just a couple screws remaining. |
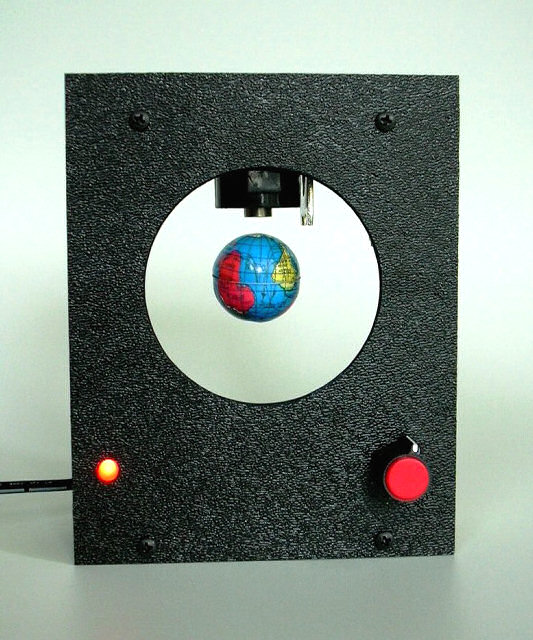 |
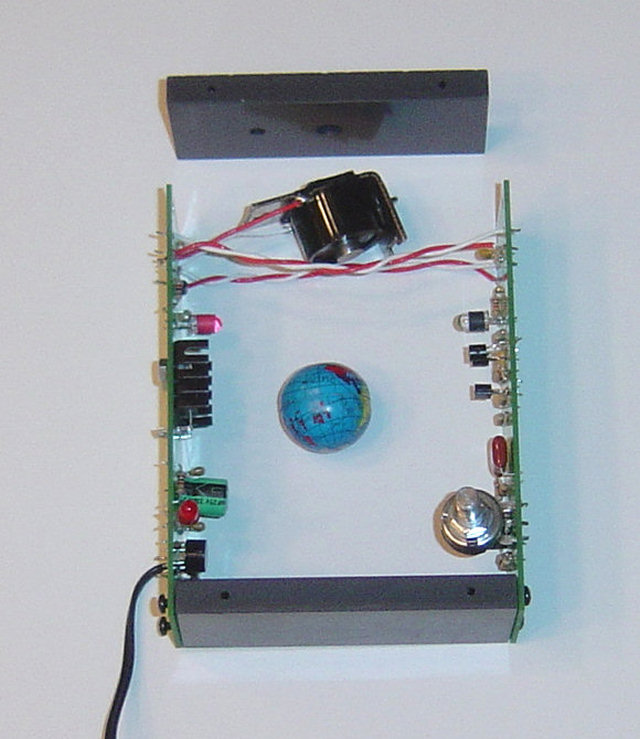
Finished! |
| < Previous | Page 4 of 5 | Next > |
©1998-2026 Barry Hansen